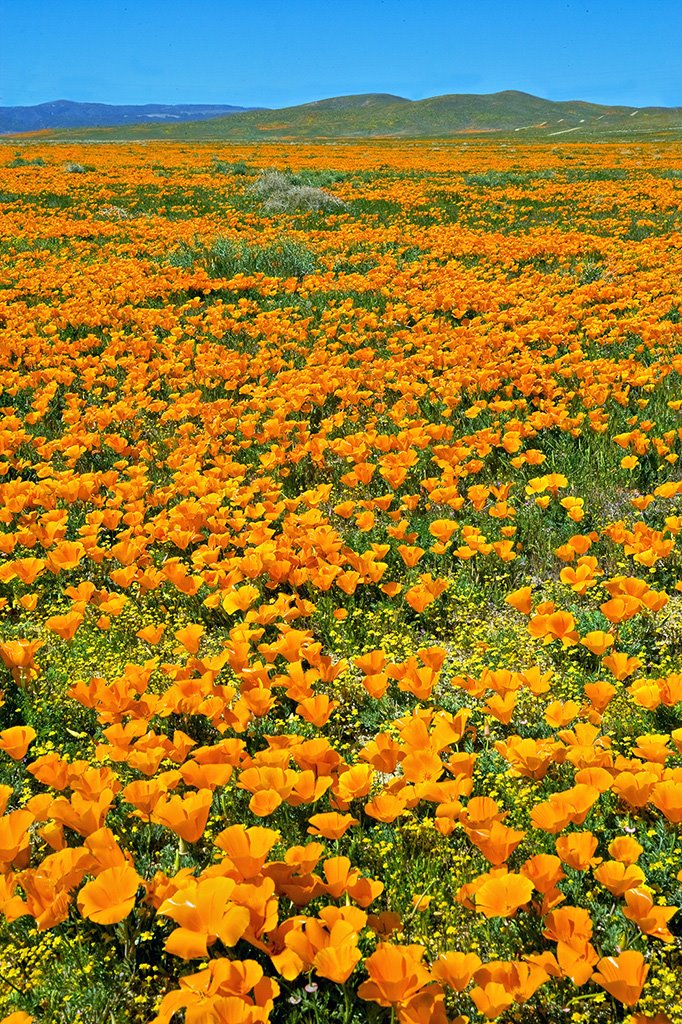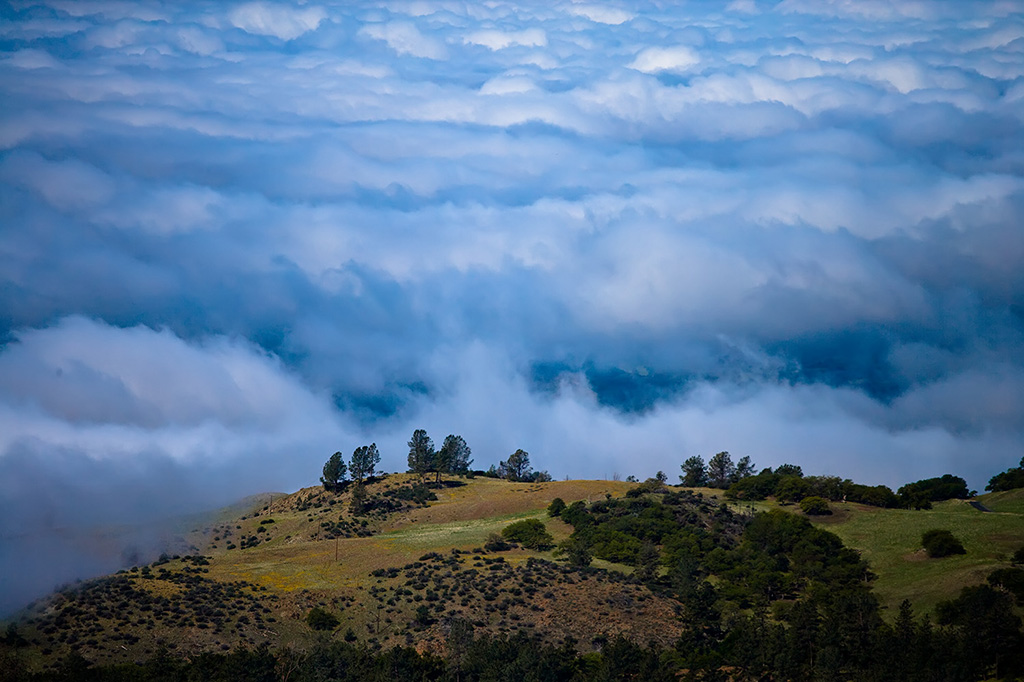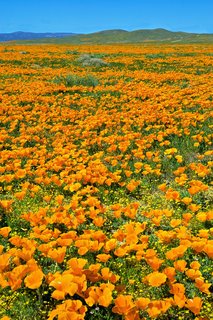
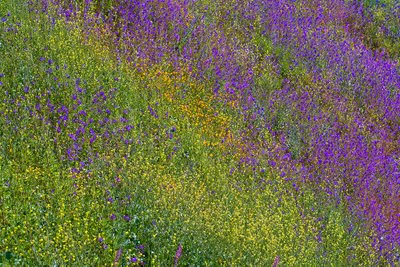
One in a million, or a million and one, the choice is yours. Whether you single out one bloom or shoot 'em in mass you can't go wrong with photographing wildflowers. California has some of the best wildflowers in the country. The trick is being at the right place at the right time. Some years they'll start to bloom in late February and continue on into August.
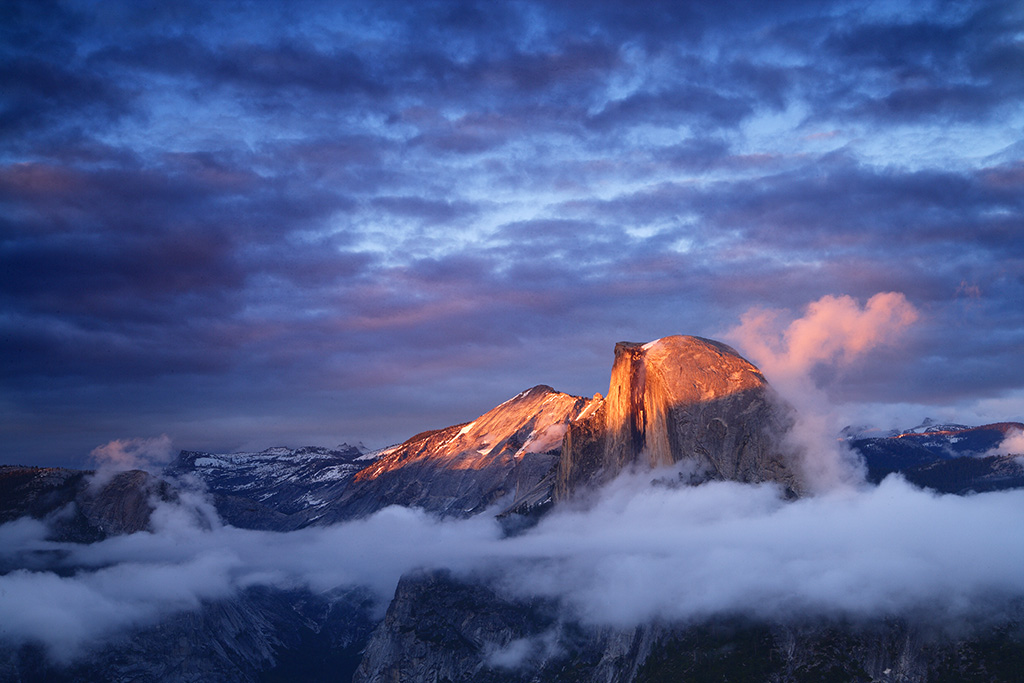
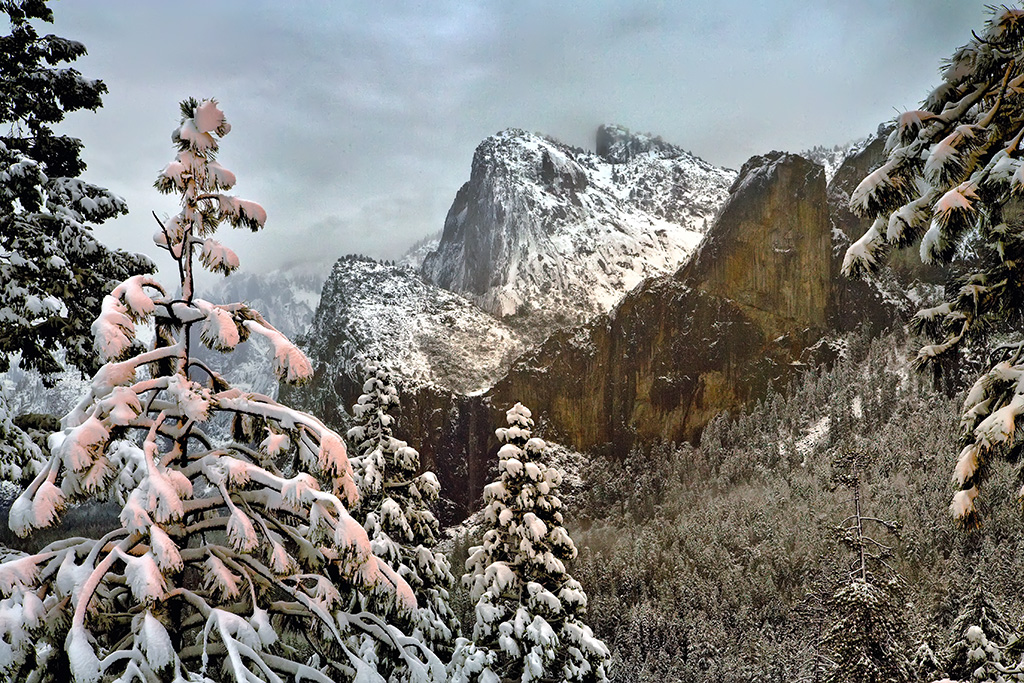
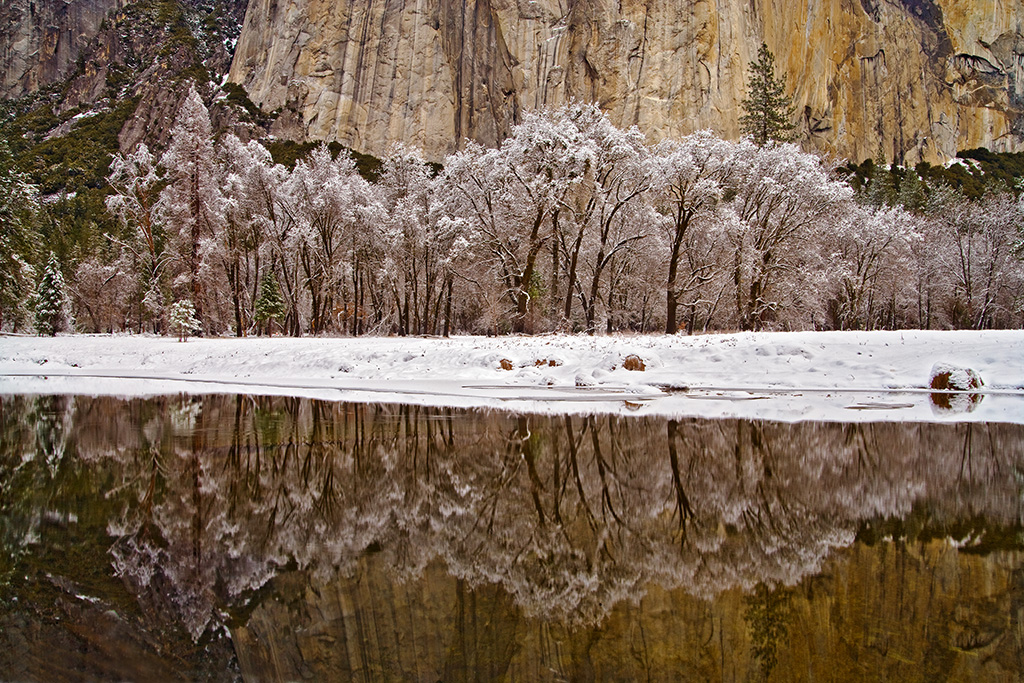
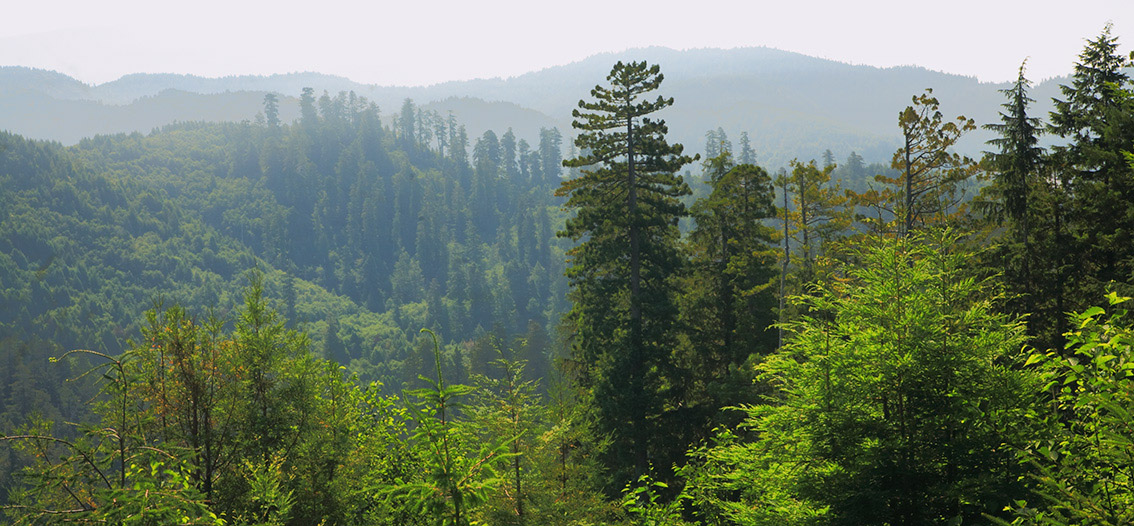
They bloom from the deserts, to the coast, to the valleys and up to the highest mountains. You can visit Anza Borrego, Death Valley, the Carrizo Plane, Yosemite Valley, the Sierra Foothills, the Eastern Sierra High Country, and many more. Carol Leigh's website
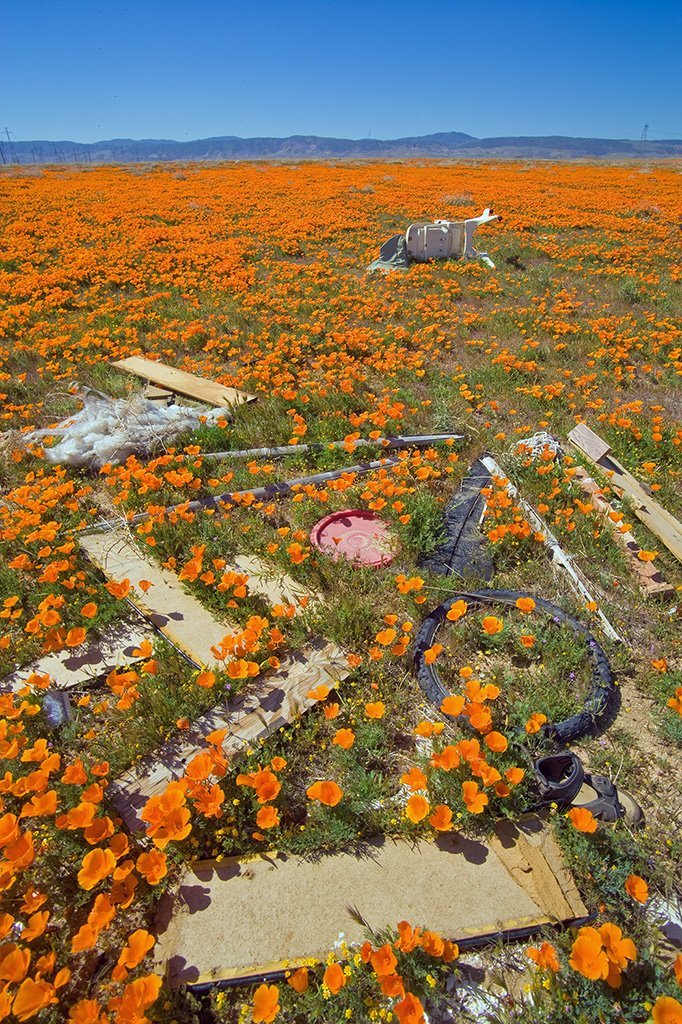
Calphoto.com provides up to date posts on the best locations and when they're in full bloom. So far this year I've gone to Figueroa Mountain, Lake Elsinore, Antelope Valley, Gorman and even a hillside about 20 feet from my driveway.
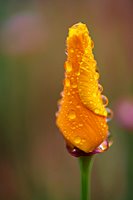
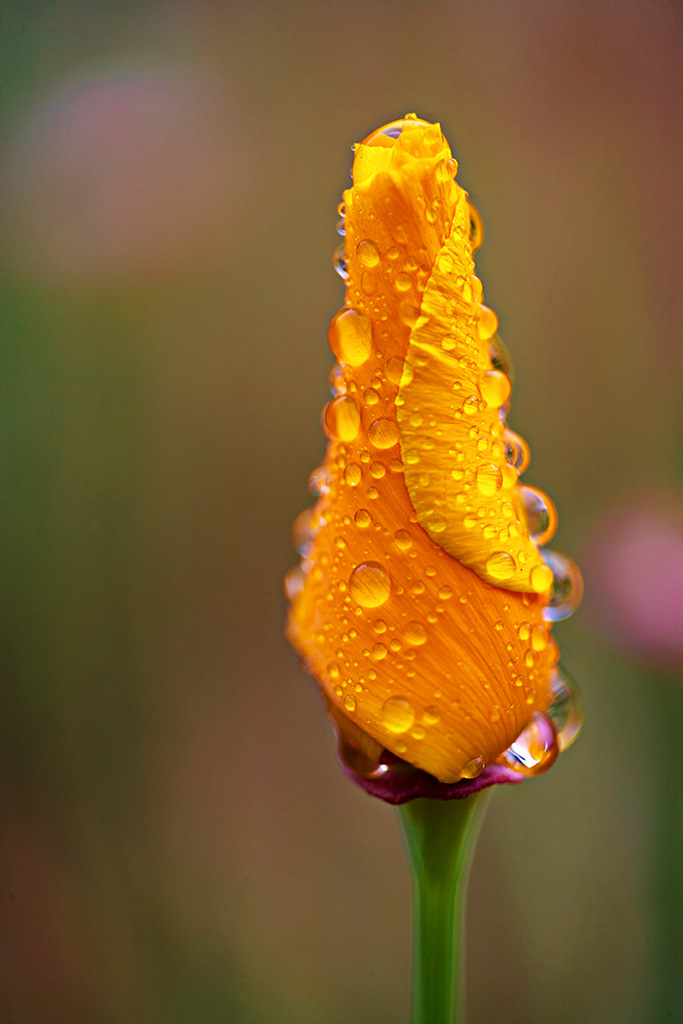
I like to shoot in early morning light and we got a little rain a couple of mornings which added variety. Poppies don't open when it's cold or windy, They like nice sunny days. Most of the time they open between 9 and 11. Poppies photograph well in full sun. Their thin petals are translucent and take on a glow. For most wildflowers cloudy or overcast works best. If contrast is a problem I'll try to shoot the poppy close up and have the background out of focus. This blurs the highlights with the shadows and cuts down the contrast. Back-light is another alternative to cut down harsh contrast. You can also use a diffuser. (I forgot mine on the first trip where I really needed it.)

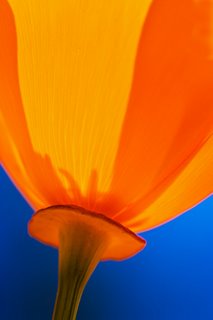
All 3 images, the 2 above and the one to the left, were made using a 100mm macro lens. (On a full frame sensor - a 60mm on a aps size sensor.) I used my "sneaker zoom". I changed my position by moving my feet. For the 2 above I only moved about 3 feet. The poppy to the left was on a hillside so it was easier to get underneath. Of note, when you point up away from the horizon the sky is a deeper blue. It's always the darkest blue to the north.

One technique I wanted to try was a wide angle close up by using a 12mm extension tube on a wide angle lens. First I tried it on a 20mm (On a full frame sensor) but the petals had to almost touch the front of the lens in order to focus. Then I tried a 24mm lens. It was better but still hard to manage. I went home and did a series of tests and found that my Tamron 17-35mm lens focuses very close. Adding the 12mm extension tube allowed me to focus just a few inches from the lens at all focal lengths. I preferred it set to 35mm. There is very little depth of field so at 5.6 it might be an eight of an inch. I happen to like this look and plan to use it more it the future. It looks somewhere between a photograph and a painting. It is much more manageable at 35mm. You don't have to have the flower touching the lens shade and you can control the size of the foreground and amount of background by using small adjustments with the zoom and rocking back and forth. It gave me what I was looking for. The photo has more depth than with a longer lens. It's much easier to use in practice than described here in words.

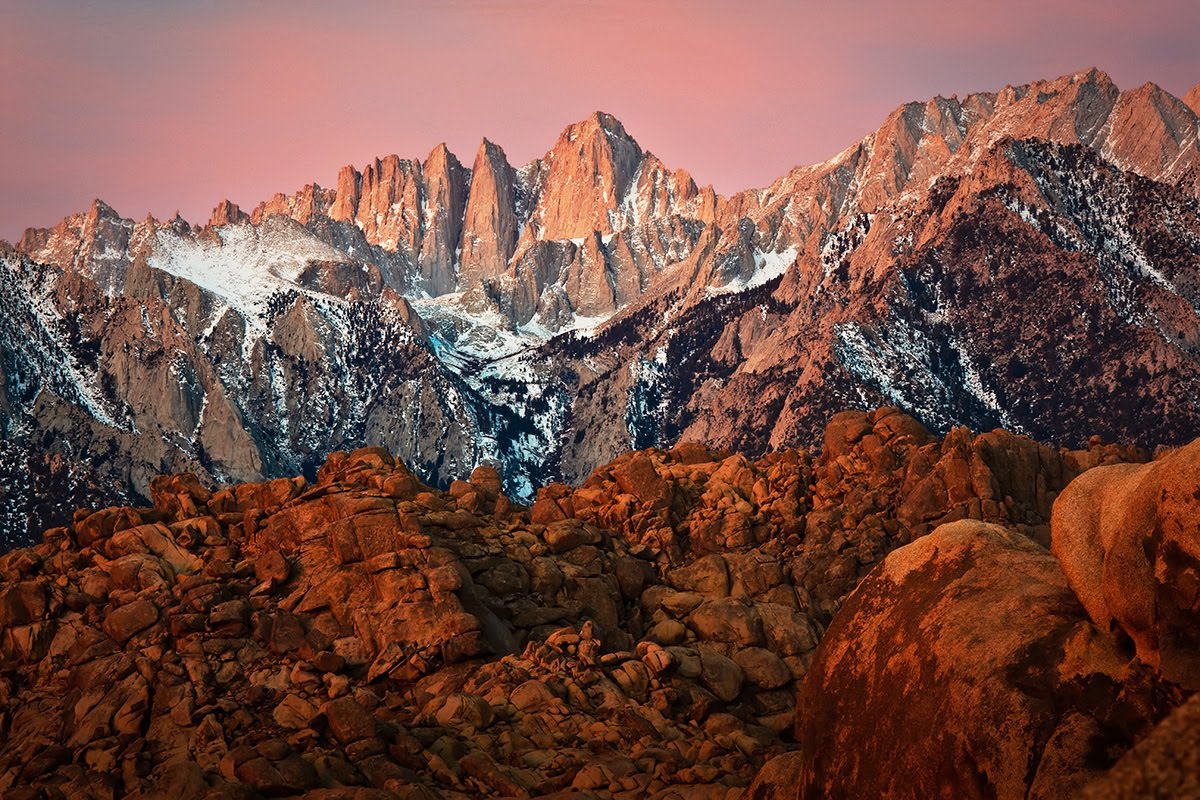
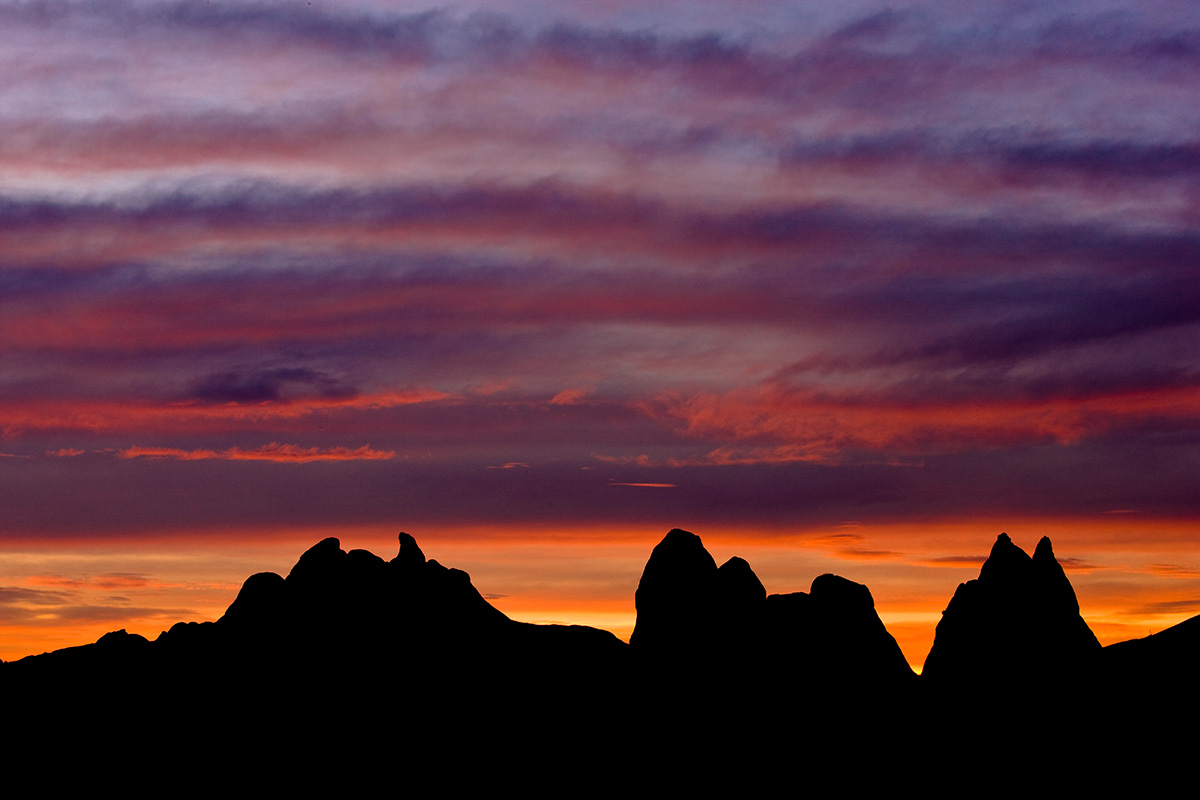
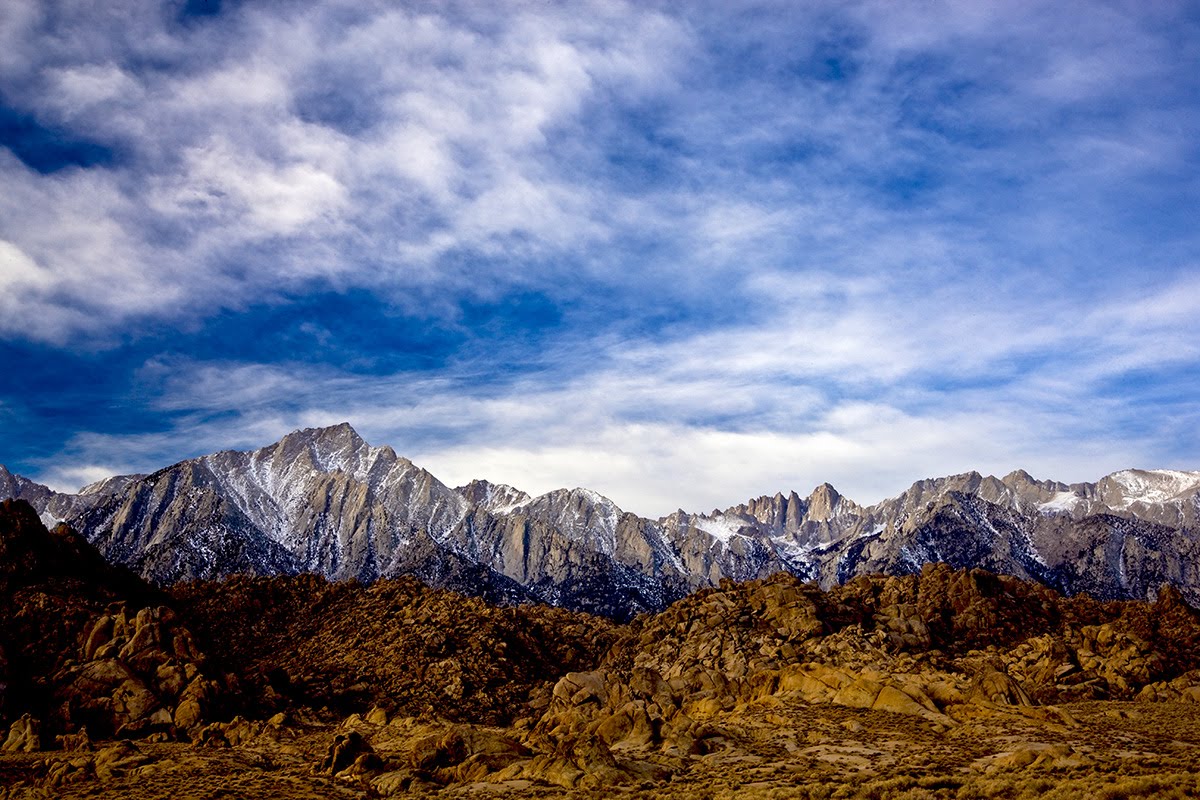
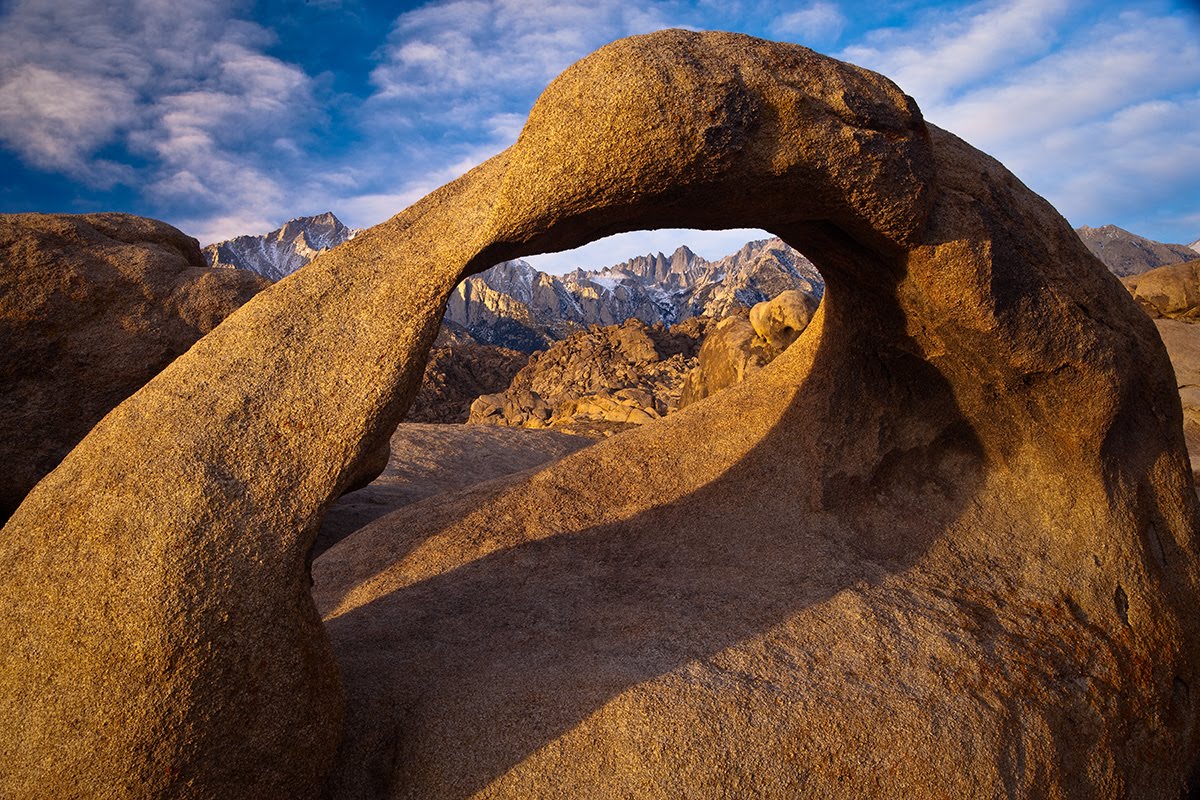
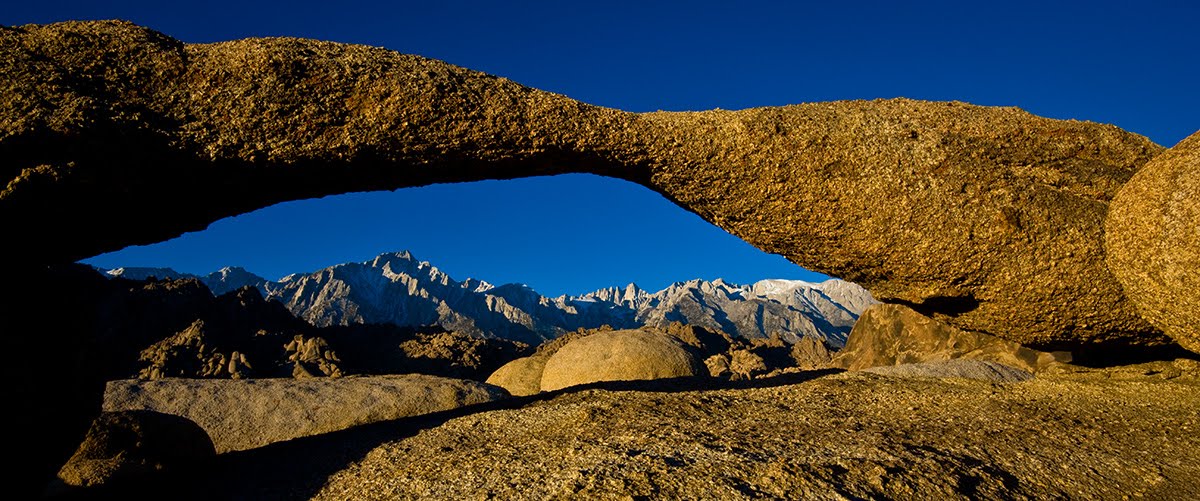
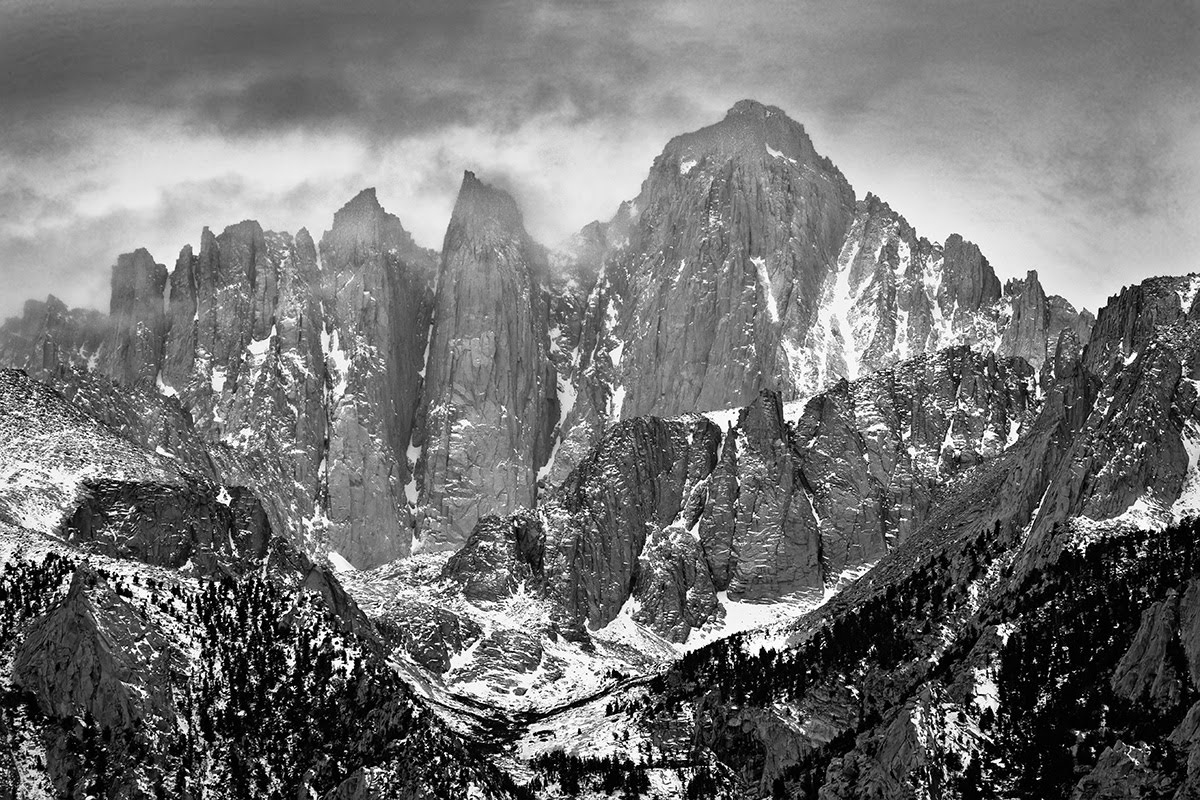
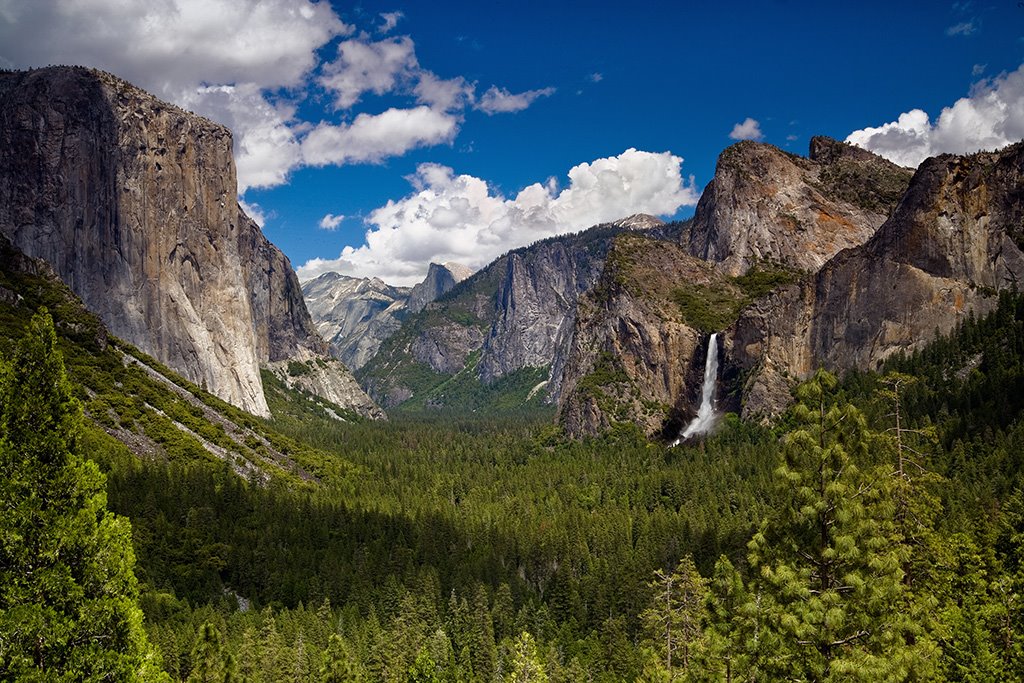
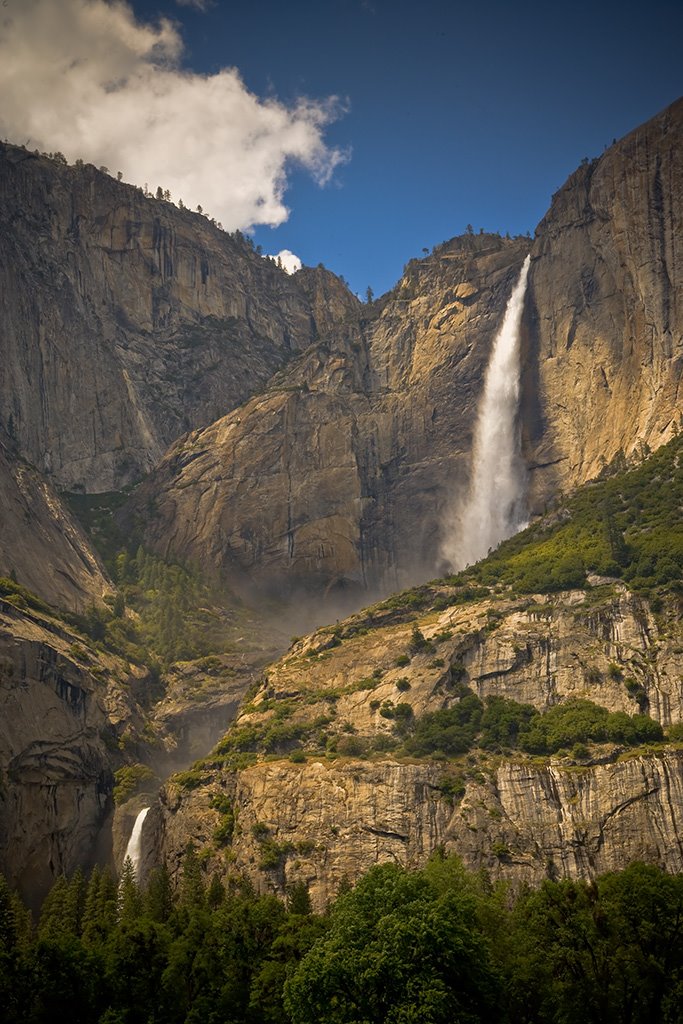
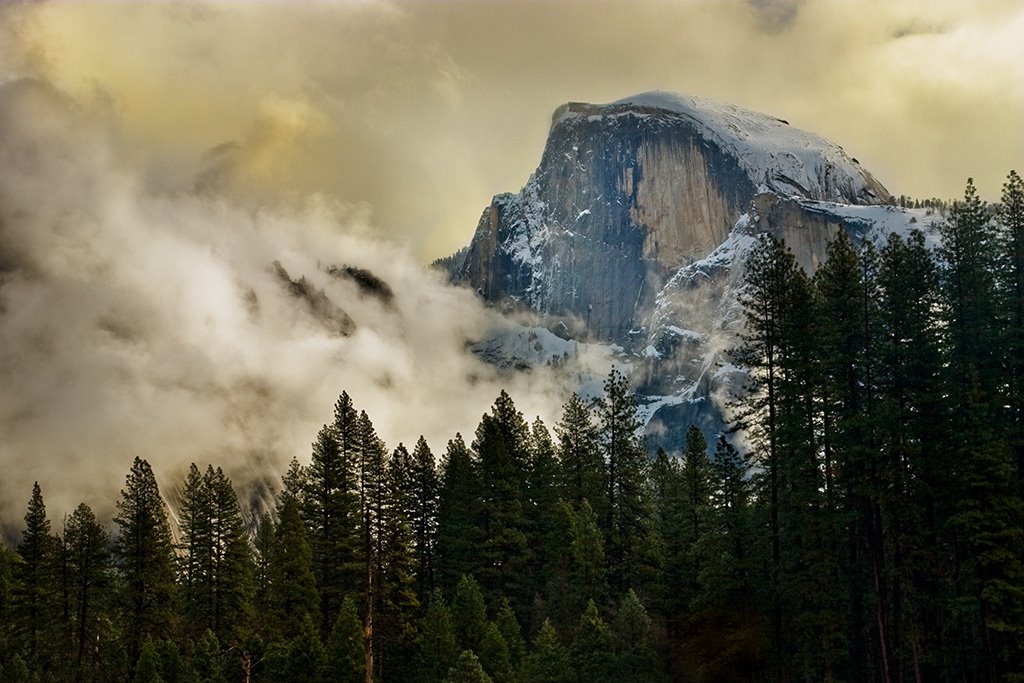
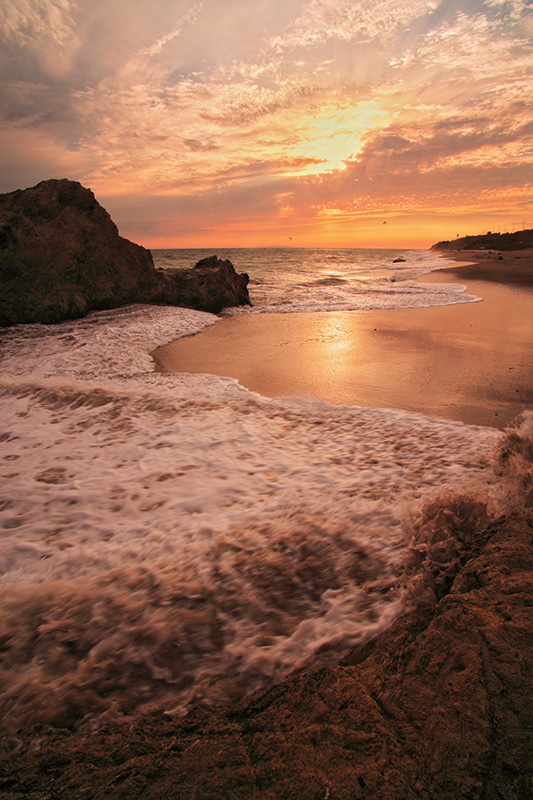
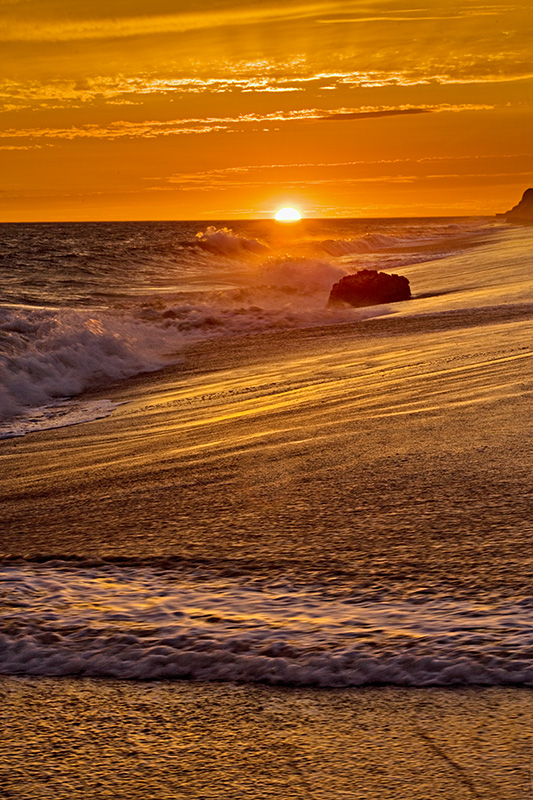
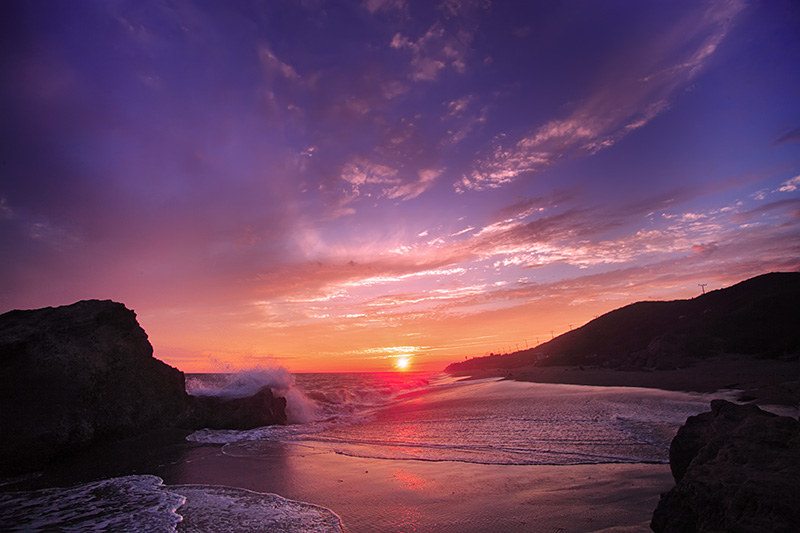
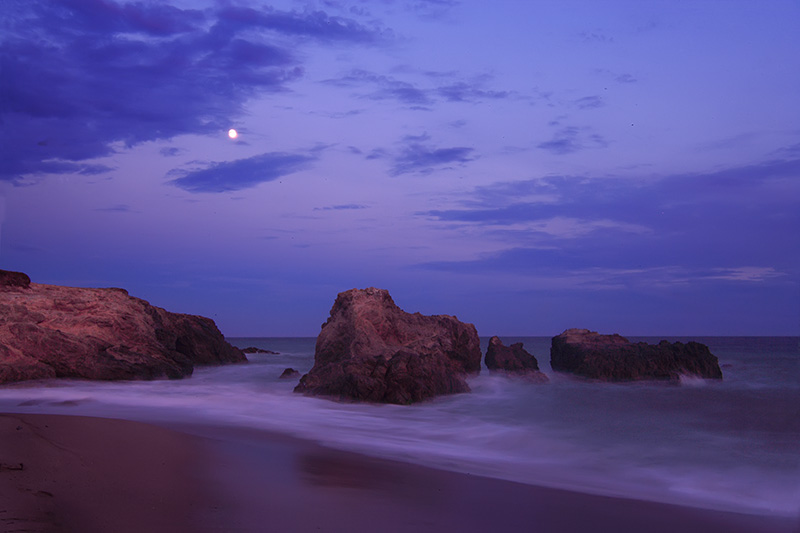
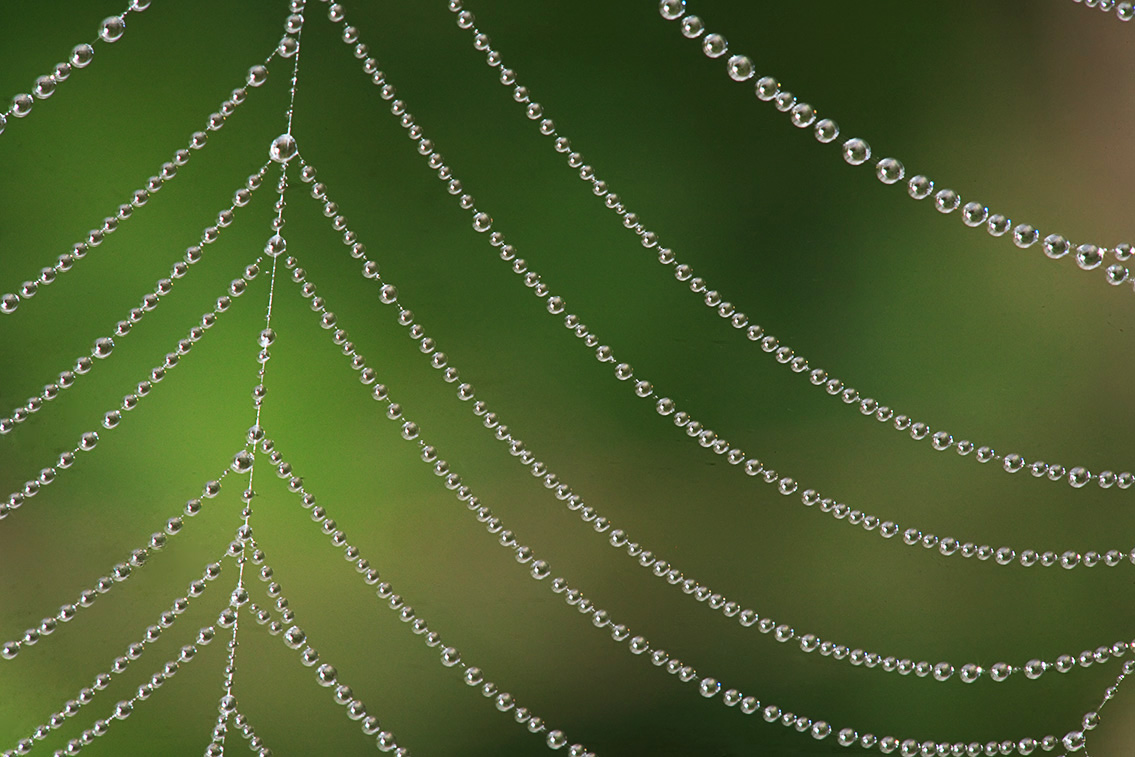
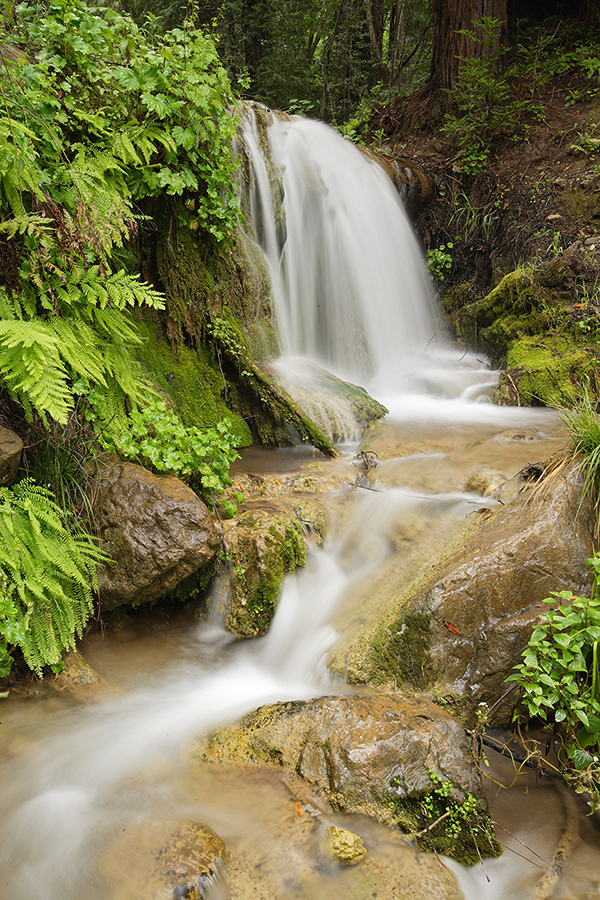
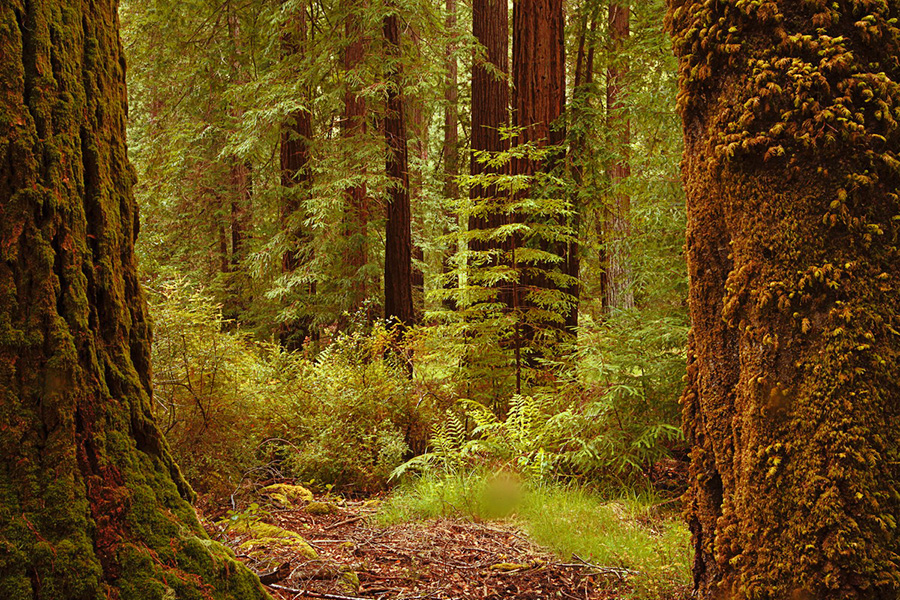
Along the way I stumbled upon a few shots without wildflowers that I couldn't pass up. It's always fun to get out and explore. Whatever photographic technique you're trying to improve upon or if your just out for a good hike, wildflowers add an extra sparkle. Just Google "YOUR STATE Wildflowers" and add "Hotsheet" or "Hotline". Check out my
California Wildflowers Gallery for more examples.
Labels: Antelope Valley, California, Flowers
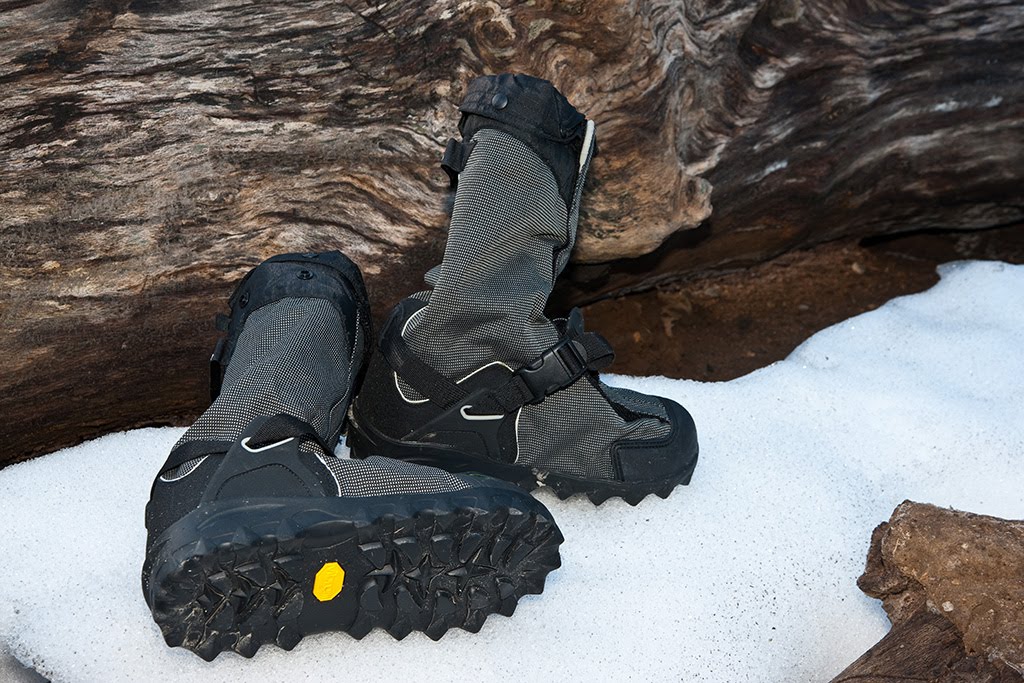 When Overshoes Online asked me to review a pair of their overshoes, little did they know that I had just come back from a trip where my feet got wet every day. I picked the NEOS Navigator 5 Overshoe. As the name implies they slip over your shoes. The NEOS Navigator 5 Overshoe is 15 inches high and extends to 20 inches. They are 100% waterproof and extremely well made.
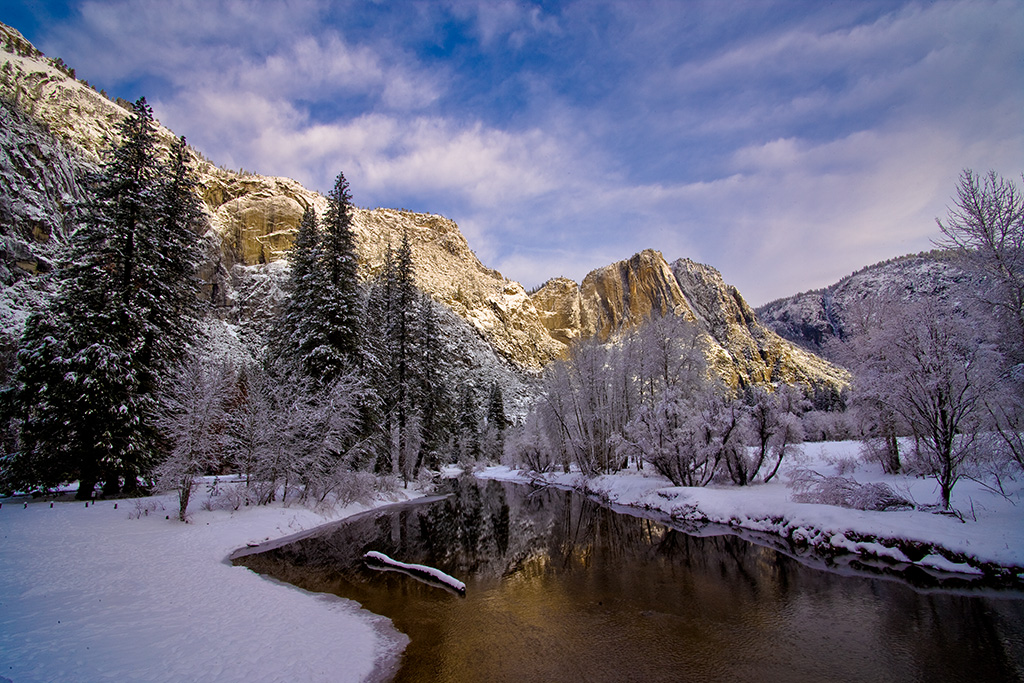
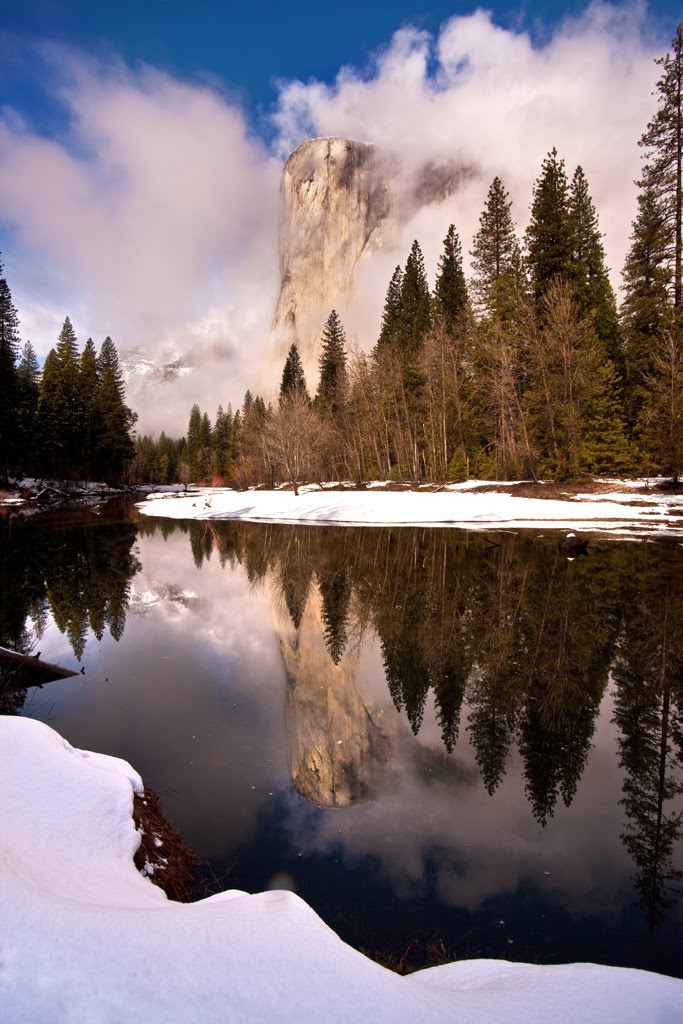 I tried them out during the fall but I wanted to trek through some snow before I gave a full review. I can now say Wow! The NEOS Navigators are warm and comfortable. As a photographer I'm often standing around, waiting for that magic light. The overshoes are like wearing slippers.